
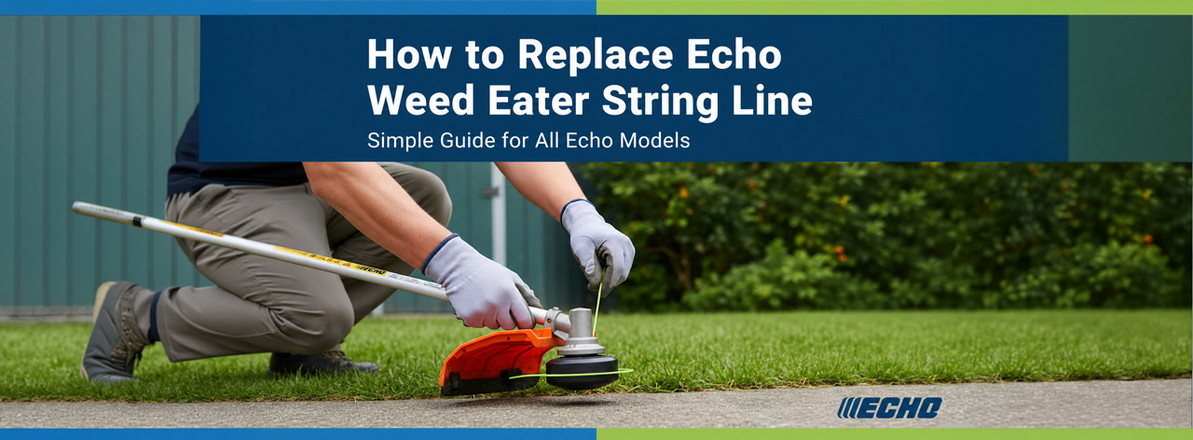
How to Replace Echo Weed Eater String Line: Simple Guide for All Echo Models
Replacing the string on your ECHO weed eater is an important part of keeping your trimmer ready for regular lawn maintenance. Whether you're dealing with worn-out trimmer line, an empty spool, or a string that won't feed properly, knowing how to reload your trimmer head can help you get back to work with less downtime.
The replacement process depends on the type of trimmer head installed on your equipment. In this guide, we'll walk you through how to replace ECHO weed eater string, identify different trimmer heads, choose the correct line size, and troubleshoot common string-feeding problems.
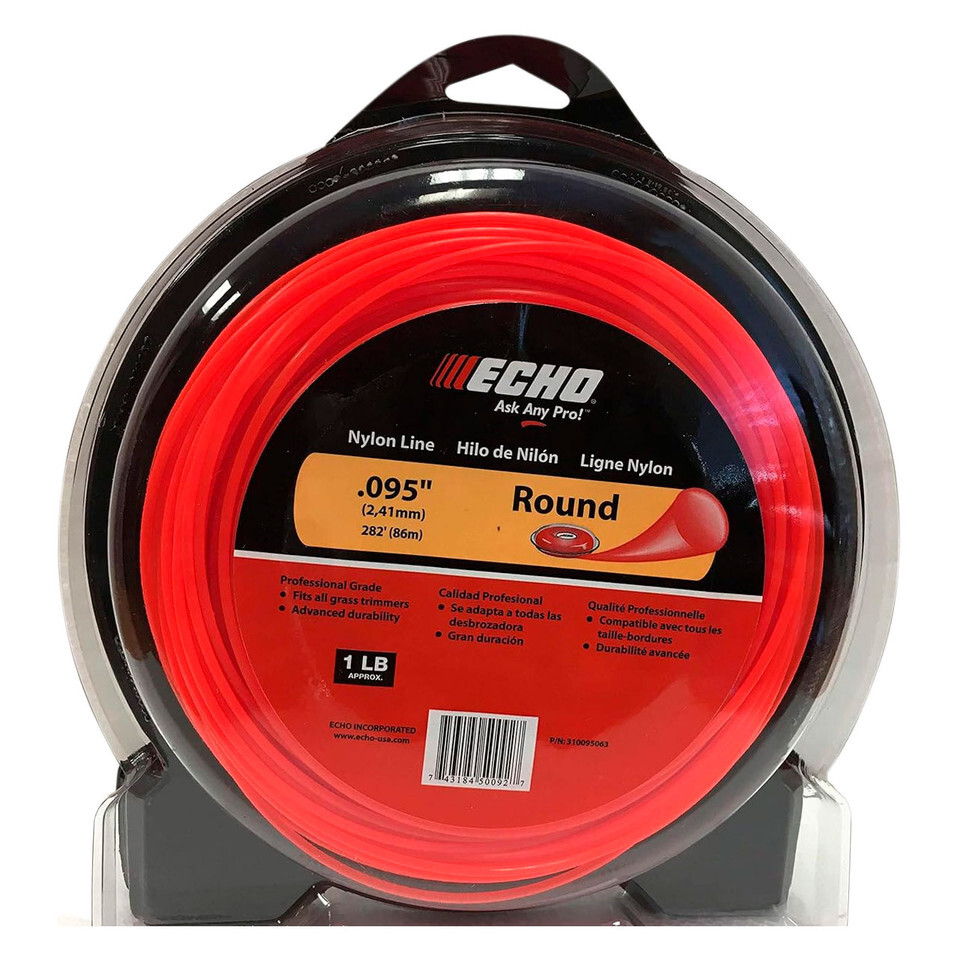
In this guide, you’ll learn how to replace Echo trimmer line, how to handle Echo string trimmer line replacement, and how to complete Echo weed wacker line replacement on common Echo models, including units with Speed-Feed heads.
How to identify your ECHO Trimmer Head
Before replacing your ECHO weed eater string, take a moment to identify the type of trimmer head installed on your equipment. ECHO string trimmers can use different head designs, and each may require a different method for loading or replacing the cutting line.
Check your trimmer's model information and inspect the head for identifying markings. If you're unsure which type you have, consult the owner's manual or the manufacturer's parts diagram before beginning.
ECHO Speed-Feed vs. Spool-Style Trimmer Heads
ECHO Speed-Feed trimmer heads are designed to simplify line replacement. On compatible Speed-Feed models, you can insert a new length of trimmer line through the head and wind it into place without removing the entire spool assembly.
Spool-style trimmer heads generally require opening the head, removing the spool, and winding new line according to the manufacturer's instructions. The direction of winding and the amount of line needed depend on the specific head.
Identifying the correct head helps you follow the right replacement procedure and avoid unnecessary disassembly.
How to replace Echo Weed Eater String and Trimmer Line
Most Echo weed eaters use a bump-feed or Speed-Feed trimmer head. These systems feed the echo trimmer line automatically when you tap the head on the ground while trimming. The process to reload them is simple, but technique matters to avoid jams or uneven winding.
How to replace Echo Weed Eater String (Step-by-Step)
| Step | Description |
|---|---|
| Step 1: Power Off the Trimmer | Disconnect the spark plug (gas models) or remove the battery (electric models). This prevents accidental startup. |
| Step 2: Remove the Trimmer Head Cap | Press the locking tabs on both sides of the Echo trimmer head and pull the cover straight off. Inside, you’ll see the spool where the line is wound. |
| Step 3: Cut the New Line | Echo recommends .095-inch trimmer line for many common models, but Echo 225 string replacement and other Echo trimmer line replacement tasks should always be checked against the model manual or trimmer head specifications. |
| Step 4: Wind the Line onto the Spool | Follow the directional arrows molded on the spool. Insert the line end into the starter hole, then wind evenly and tightly. Leave 4–6 inches unwound at the end. |
| Step 5: Seat the Line and Reassemble | Place each line end through the eyelets on the Echo head. Hold tension as you snap the cap back into place until both tabs lock. |
Echo Weed Eater String Replacement depending by Model
Echo weed eater string replacement can vary slightly depending on the trimmer model and head style. Many Echo trimmers use a bump-feed or Speed-Feed head, but the correct process still depends on the line diameter, spool design, and whether the head loads from the outside or requires the cap to be removed.
Choose the Correct Echo Trimmer Head and Line
- Echo weed eater string replacement varies by trimmer model and cutting head design.
- Most Echo trimmers use either a bump-feed or Speed-Feed head, but the replacement process depends on the spool design, line diameter, and loading method.
- Before replacing the Echo 225 string, identify the correct trimmer head and confirm the recommended line size.
- The Echo GT-225 and similar models are commonly designed for light- to medium-duty lawn maintenance.
- Always check the owner's manual or the trimmer head markings before cutting and installing new trimmer line.
Inspect the Trimmer Head Before Installing New Line
- Check the spool, eyelets, bump knob, and cap before reassembling the trimmer head.
- Replacing worn components helps prevent line jams and uneven line feeding.
- Damaged trimmer head parts can also cause premature trimmer line breakage, even when the new string is installed correctly.
- A quick inspection before reloading the line helps improve cutting performance and extends the life of the trimmer head.
How to Change Echo Speed-Feed String (Fastest Method)
| Step | Description |
|---|---|
| Step 1: Align Arrows | Rotate the head until the two alignment arrows line up. This allows line to pass straight through the head. |
| Step 2: Insert the Line Straight Through | Push 10–12 feet of trimmer line through the head until both sides are even. |
| Step 3: Wind Using the Head Knob | Turn the winding knob clockwise. The line will automatically wind evenly inside the spool—no need to open the head. |
What size string does an ECHO Weed Eater Use?
Choosing the correct trimmer line diameter is important for proper cutting performance and line feeding.
For best cutting performance and durability, Echo recommends:
- .080" – light trimming
- .095" – most common, best all-around
- .105" – heavy brush and thick weeds
ECHO trimmers and replacement heads may support different line diameters, including common sizes such as .080", .095", and .105". However, these sizes are not interchangeable across every ECHO model.
Using line that is too thick for the installed head can cause feeding problems, while using an unsuitable line may affect cutting performance.
Check your equipment manual and trimmer head specifications before selecting a replacement.
How to choose the right Trimmer Line Diameter
When selecting ECHO replacement trimmer line, consider the specifications of your cutting head first.
The correct line should match the diameter range approved for the head and equipment. You can then consider the cutting conditions, including light grass, routine lawn maintenance, or heavier vegetation, within those approved specifications.
Do not choose a thicker line simply because you want more cutting power. Using an unsupported diameter can interfere with the head's feeding mechanism or place additional load on the equipment.
For the best results, confirm the trimmer model, head model, and recommended line diameter before ordering.
Why won't my ECHO Weed Eater String Feed?
If your ECHO weed eater string isn't feeding correctly, the problem may be related to the way the line was installed, the condition of the cutting head, or the type of line being used.
Before replacing parts, turn off the equipment, disconnect the appropriate power source, and inspect the head for obvious issues.
Common causes include tangled line, incorrect winding, unsuitable line diameter, or worn head components.
Trimmer Line Keeps Breaking
Trimmer line can break frequently when it contacts hard surfaces such as concrete, rocks, fences, or metal edging.
Line condition, diameter, and cutting technique can also affect how often the string breaks.
If your ECHO trimmer line keeps breaking, inspect the line for damage, check that you're using a compatible diameter, and examine the head's line exit points for rough or damaged surfaces.
Replace damaged line and inspect worn components before returning the equipment to service.
Trimmer Line Gets Stuck Inside the Head
String that becomes tangled or stuck inside the trimmer head may prevent the cutting line from feeding properly.
This can happen when the line is wound incorrectly, too much line is loaded, or the installed diameter isn't compatible with the head.
For a removable spool, open the head according to the manufacturer's instructions and inspect the winding pattern. Remove tangled line and reload it evenly.
For a Speed-Feed head, follow the manufacturer's instructions for clearing a line jam. Avoid forcing the winding knob or pulling aggressively on stuck line, as this may damage internal components.
When should you Replace your ECHO Trimmer Head?
Not every string-feeding problem means the entire trimmer head needs to be replaced. In many cases, cleaning the head, correcting the line installation, or replacing worn string can restore normal operation.
However, certain signs may indicate that the cutting head or one of its components needs attention.
Inspect the head for cracked housings, damaged line eyelets, worn spool components, or a bump knob that no longer operates correctly.
If individual replacement components are available for your head, you may be able to replace the damaged part rather than the complete assembly.
When replacement is necessary, verify compatibility using the ECHO equipment model, trimmer head model, and manufacturer part number.
Shop ECHO Trimmer Line and Replacement Parts
Keeping the right replacement line and trimmer head components available can make routine maintenance easier.
At ECHO Parts Online, you can explore replacement parts for compatible ECHO string trimmers, including available trimmer head components and related maintenance parts.
Before ordering, identify your equipment model and check the original part number or manufacturer's parts diagram to help confirm compatibility.
Whether you're replacing worn cutting line, a damaged spool component, or an entire trimmer head, choosing the correct part helps keep your equipment ready for regular maintenance.
Common Problems During Echo Weed Wacker Line Replacement
- Line jams: Usually caused by uneven winding, overlapping coils, or using the wrong line diameter.
- Line won’t feed: Often related to a worn bump knob, damaged eyelets, incorrect spool installation, or line that is wound too tightly.
- Line melts: Can happen when the line is too thin, wound too loosely, or overheats from friction inside the trimmer head.
- Line breaks too quickly: Check that the Echo weed wacker string matches the recommended diameter and cutting application.
Final Tips for Smooth Trimming
For smoother Echo trimmer line replacement, use the correct line diameter, wind the string evenly, keep the cutting shield clean, and replace worn trimmer head parts when feeding becomes inconsistent. Whether you are working on Echo 225 string replacement, Echo weed eater string replacement, or a Speed-Feed head, checking the model and head type before loading new line helps prevent jams and feeding issues.
Frequently asked questions about ECHO Weed Eater String
How do you put new string on an ECHO weed eater?
First, identify the trimmer head installed on your equipment. A compatible Speed-Feed head generally allows line to be inserted and wound without removing the spool, while a removable spool-style head requires opening the assembly and winding the line according to the manufacturer's instructions.
Can you use any trimmer line in an ECHO weed eater?
No. Trimmer line must meet the diameter and other specifications approved for your equipment and cutting head. Check the manufacturer's instructions before selecting replacement line.
Do you have to remove an ECHO Speed-Feed head to replace the string?
On compatible Speed-Feed heads, routine line replacement can generally be completed without removing the head. However, clearing severe jams or replacing damaged components may require additional disassembly according to the manufacturer's instructions.
Why does my ECHO weed eater string keep getting stuck?
Trimmer line may become stuck because of incorrect winding, excess line, tangling, incompatible diameter, or worn head components. Inspect the head and reload the line according to the instructions for your specific model.
How do I know which ECHO trimmer head I have?
Check for identifying markings on the trimmer head and compare them with your equipment manual or manufacturer's parts diagram. If the head has been replaced previously, the installed head may differ from the original configuration.
When should I replace my ECHO trimmer head?
Consider replacing the head or its individual components when you find cracks, significant wear, damaged line openings, or a feeding mechanism that no longer works correctly after proper cleaning and line installation. Always verify the replacement part's compatibility before ordering.
Recent Posts
-

How to Replace Echo Weed Eater String Line: Simple Guide for All Echo Models
Replacing the string on your ECHO weed eater is an important part of keeping your trimmer ready for …Dec 12th 2025 -

Echo SRM-225: The 2025 Trend in Power and Reliability
The Echo SRM-225 remains one of the most trusted trimmers for homeowners and professionals alike. As …Nov 3rd 2025 -

Echo Chainsaw and Best Lawn Mowers Models in 2025: Performance, Innovation, and Reliable Parts
When it comes to professional-grade chainsaws, Echo continues to be a frontrunner in 2025. Known for …Oct 7th 2025